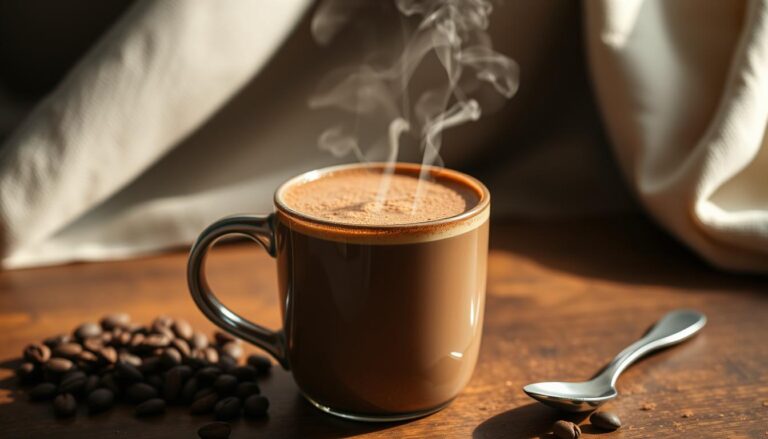
How to Make Homemade Chocolate Covered Raisins
Making homemade chocolate covered raisins is a fun project in your kitchen. It turns simple raisins into a delicious treat. This process is more than just satisfying your sweet tooth. It’s about enjoying the joy of cooking.
Starting with homemade chocolate covered raisins opens up a world of tasty options. Whether you love baking or are just starting, this recipe is easy and impressive. The steps are simple, and the taste is amazing.
With a few ingredients and basic steps, you can make chocolate covered raisins that taste better than store-bought ones. You’re about to start a fun cooking journey. It will impress your loved ones.
Key Takeaways
- Create delicious chocolate covered raisins in your own kitchen
- Control ingredients and customize flavor profiles
- Save money compared to store-bought treats
- Enjoy a fun and rewarding cooking experience
- Impress friends and family with homemade gourmet snacks
Why Make Your Own Chocolate Covered Raisins at Home
Making your own chocolate raisins at home is a world of tasty possibilities. Homemade treats have perks that store-bought ones can’t match. Let’s see why making your own organic chocolate raisins can change your snacking game.
Health Benefits of Homemade Treats
When you make organic chocolate raisins at home, you control what goes in. Store-bought treats often have:
- Unnecessary preservatives
- Too much refined sugar
- Artificial additives
Your homemade version is healthier. It’s full of natural ingredients and less processed.
Cost-Effective Chocolate Delights
Surprisingly, making gourmet chocolate raisins at home can save money. Here’s a quick look at the savings:
- Bulk ingredients are cheaper
- No extra cost for fancy packaging
- You can make lots at once
Personalized Flavor Experiences
Customization is the best part of making treats at home. You can try:
- Dark chocolate varieties
- Various coating methods
- Unique spice and flavor mixes
Your kitchen becomes a place for creativity. You can make gourmet chocolate raisins that fit your taste perfectly.
Essential Ingredients for Perfect Chocolate Covered Raisins
Making delicious chocolate dried chocolate raisins begins with the right ingredients. Your homemade treats will shine based on what you pick. Let’s look at the main ingredients for a great chocolate-making journey.
Primary Ingredients
- High-quality raisins (preferably seedless)
- Premium chocolate (dark, milk, or semi-sweet)
- Optional coating ingredients
Choose plump, fresh raisins for a chewy texture and sweetness. California raisins are great for milk chocolate coated raisins because of their flavor.
Chocolate Selection Guide
| Chocolate Type | Flavor Profile | Best For |
| Dark Chocolate | Rich, intense | Sophisticated palates |
| Milk Chocolate | Creamy, sweet | Classic chocolate dried chocolate raisins |
| White Chocolate | Smooth, delicate | Unique coating variation |
Pro tip: Pick chocolate with at least 60% cocoa for the best results. Couverture chocolate is ideal for smooth, professional-looking raisins.
“The secret to great chocolate covered raisins is using fresh, high-quality ingredients.” – Artisan Chocolatier
Additional Flavor Enhancers
- Sea salt
- Chopped nuts
- Cocoa powder
- Cinnamon
By choosing your ingredients wisely, you’ll make chocolate dried chocolate raisins that are as good as store-bought ones. The secret is using fresh, quality ingredients and a bit of creativity.
Choosing the Right Type of Chocolate for Coating
Choosing the perfect chocolate can turn a simple treat into a gourmet delight. The right chocolate affects the flavor, texture, and enjoyment of your homemade sugar free chocolate raisins.
Chocolate selection is more than just taste. Each type has its own special qualities that add to your chocolate dried fruit. Knowing these differences helps you make the perfect sweet treat.
Dark Chocolate Selection Tips
Dark chocolate has rich, intense flavors for those who love strong tastes. When picking dark chocolate, keep these tips in mind:
- Cocoa percentage (higher percentages mean more intense flavor)
- Origin of cocoa beans
- Quality of chocolate manufacturing
Milk Chocolate Options
Milk chocolate has a creamy, sweeter taste for those who like milder flavors. Look for high-quality brands with smooth textures and balanced sweetness.
| Chocolate Type | Cocoa Percentage | Flavor Profile |
| Dark Chocolate | 70-85% | Intense, slightly bitter |
| Milk Chocolate | 30-50% | Creamy, sweet |
| Sugar-Free Chocolate | 50-70% | Balanced, with alternative sweeteners |
Working with Sugar-Free Alternatives
For those watching their sugar intake, sugar free chocolate raisins are a great choice. Chocolates sweetened with Stevia or monk fruit offer tasty alternatives without the sugar.
Pro tip: Always check chocolate quality and melting properties before coating your raisins to ensure the best results.
Preparing Your Raisins for Chocolate Coating

A close-up shot of freshly harvested organic raisins being carefully arranged on a wooden table. The raisins, plump and glossy, are meticulously hand-picked, their natural sweetness and wrinkled texture evident. Soft, directional lighting illuminates the scene, casting gentle shadows and highlighting the intricate patterns of the raisins’ surfaces. In the foreground, a few raisins are being gently inspected, their skins glistening under the warm light. The middle ground features a scattering of the raisins, arranged in an aesthetically pleasing manner, ready to be coated in rich, dark chocolate. The background is slightly blurred, creating a sense of focus and depth, allowing the raisins to take center stage.
Getting your organic raisins ready for chocolate coating is key to making tasty homemade treats. The right preparation ensures your chocolate-covered raisins will look and taste great.
First, pick high-quality organic raisins. Make sure they are clean and dry before you coat them. Moisture can ruin the chocolate coating, so dry them well.
- Inspect raisins for any debris or stems
- Pat raisins dry with clean paper towels
- Spread raisins on a clean kitchen towel
- Allow raisins to air dry for 15-20 minutes
The temperature of your raisins is important. Room temperature raisins coat best with chocolate. If they’re cold, let them sit out for 30 minutes before starting.
| Raisin Preparation Step | Time Required | Purpose |
| Sorting | 5 minutes | Remove any damaged or irregular raisins |
| Drying | 15-20 minutes | Ensure surface moisture is completely removed |
| Warming | 30 minutes | Bring raisins to room temperature |
Pro tip: Use a clean, dry colander to help separate and air out your organic raisins. This method allows maximum air circulation and helps remove any excess moisture that could interfere with chocolate coating.
By following these steps, you’ll be on your way to making delicious chocolate-covered raisins. Clean, dry, and room-temperature organic raisins are the best base for your homemade treats.
Step-by-Step Guide to Making Chocolate Covered Raisins
Making homemade chocolate covered raisins is simple. Just a few steps can turn raisins into a tasty treat. Follow this guide to make perfect chocolate covered raisins at home.
Melting Chocolate Perfectly
Smooth chocolate covered raisins start with melting chocolate right. Pick high-quality chocolate for the best taste. You can melt it two ways:
- Double boiler method: Melt chocolate gently with indirect heat
- Microwave method: Heat in short 15-second bursts, stirring each time
Pro tip: Don’t let chocolate touch water, as it can seize and spoil your coating.
Chocolate Coating Techniques
For chocolate covered raisins, getting the coating right is key. Here’s how to coat them evenly:
- Pat raisins dry to remove extra moisture
- Use a fork to fully coat raisins
- Tap off extra chocolate for a thin layer
Cooling and Setting Your Treats
The last step is cooling your chocolate covered raisins. Place them on parchment paper and chill in the fridge. They’ll set faster. Room temperature works too, but it takes longer.
“Patience is the secret ingredient in making perfect chocolate covered raisins!” – Chocolate Artisan
With these steps, you’ll make chocolate covered raisins that look and taste amazing. They’re sure to wow your family and friends.
Storage Tips and Shelf Life

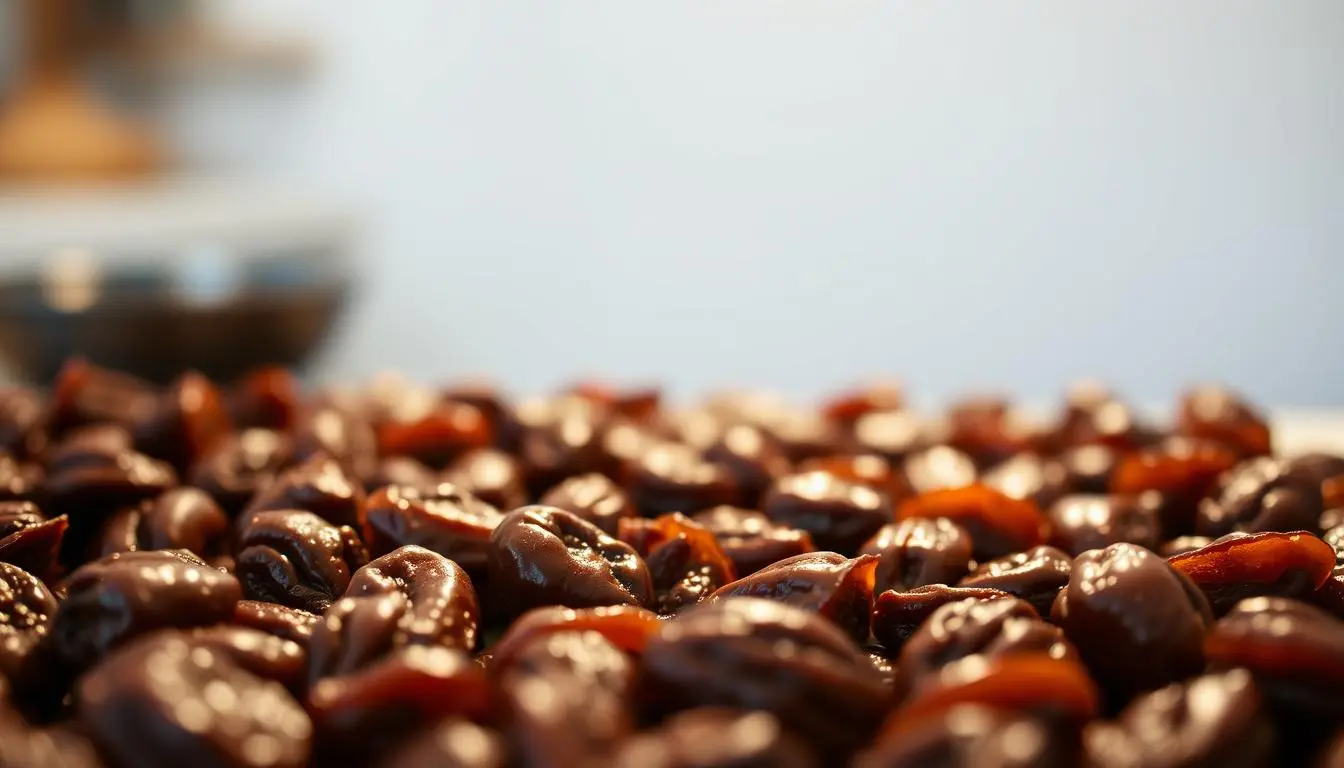
A close-up shot of a glass jar filled with gourmet chocolate-covered raisins, set against a warm, rustic background. The raisins are evenly coated in a rich, glossy dark chocolate, arranged in a visually appealing manner. Soft, directional lighting from the side casts gentle shadows, highlighting the texture and sheen of the chocolate. The jar’s lid is closed, conveying the idea of proper storage to preserve the freshness and quality of the homemade treats. The overall scene exudes a cozy, inviting atmosphere, hinting at the delicious, indulgent nature of the chocolate-covered raisins within.
Keeping your homemade chocolate covered raisins fresh is key. The right storage keeps them tasting great and feeling good in your mouth for longer.
For the best taste, store them in a certain way. The right spot keeps the chocolate from getting a white film and keeps the flavor just right.
- Store in an airtight container to protect from moisture
- Keep at room temperature between 60-70°F
- Avoid direct sunlight and heat sources
- Use parchment paper between layers to prevent sticking
The life of your chocolate raisins depends on the chocolate type. Dark chocolate lasts longer than milk chocolate. Homemade chocolate covered raisins stay best for 1-2 weeks at room temperature.
Putting them in the fridge can make them last longer. But, be careful of moisture. If you refrigerate, seal them well and let them warm up slowly before eating.
“The key to enjoying chocolate covered raisins is maintaining their original texture and flavor through proper storage.” – Chocolate Preservation Expert
Eat your chocolate covered raisins within two weeks for the best taste. Look out for a white film on the chocolate. It’s not bad for taste but changes how they look.
Troubleshooting Common Issues
Making perfect chocolate covered raisins can be tricky. Knowing how to fix common problems will help you make them look and taste great every time.
When you make chocolate covered raisins at home, you might face some usual issues. These can affect how good your treats look and taste. Learning how to solve these problems will improve your chocolate-making skills.
Preventing Chocolate Bloom
Chocolate bloom is when chocolate gets a whitish coating. This can make your chocolate covered raisins look less appealing. To avoid this:
- Store chocolate in a cool, dry place between 60-70°F
- Avoid temperature changes
- Use high-quality chocolate and temper it right
Fixing Clumping Problems
Clumping can mess up the smooth texture of your chocolate covered raisins. Here’s how to stop and fix clumping:
- Make sure raisins are dry before coating
- Use a fork or dipping tool for even coverage
- Tap off extra chocolate for a thin layer
Addressing Texture Issues
Texture is key for your chocolate covered raisins. Whether you’re using dark or milk chocolate, pay attention to these tips:
- Melt chocolate slowly in a double boiler
- Keep the chocolate temperature steady
- Dip with smooth, controlled motions
With practice and these tips, you’ll make chocolate covered raisins that look and taste amazing.
Creative Variations and Flavor Enhancements
Take your organic chocolate raisins to the next level. Explore exciting flavor combinations that will tantalize your taste buds. Transforming simple chocolate dried fruit into gourmet treats is easier than you might think.
Start by experimenting with unique coating techniques and mix-ins. These can elevate your homemade chocolate raisins from ordinary to extraordinary. Consider these creative variations:
- Sprinkle sea salt for a sweet-savory contrast
- Roll in crushed nuts like almonds or pistachios
- Dust with cinnamon or cayenne for a spicy kick
- Drizzle with white chocolate for visual appeal
Beyond traditional raisins, try different dried fruits. Experiment with:
- Dried cherries
- Organic dried cranberries
- Dried blueberries
- Dried apricots
When selecting ingredients, choose organic chocolate raisins and high-quality dark chocolate. The right combination can turn a simple snack into a gourmet experience.
Conclusion
Making homemade chocolate covered raisins is more than just a fun activity. It’s a way to create gourmet treats in your own kitchen. By learning how to make them, you open up a world of tasty possibilities that store-bought treats can’t offer.
Creating these sweet snacks comes with many benefits. You get to choose the ingredients and try out new flavors. Making them at home saves money, lets you use healthier ingredients, and lets you make treats that are just right for you.
Remember, the more you make, the better you’ll get. Each batch of chocolate covered raisins will help you improve. Don’t be shy to try different chocolates, ways of coating, and extra flavors. Your kitchen becomes a place for fun and creativity when you make these treats.
Share your homemade chocolate covered raisins with loved ones. Seeing their joy when they taste something you made is special. Your new skill might even inspire others to try making their own gourmet chocolate treats.
FAQ
How long do homemade chocolate covered raisins last?
Homemade chocolate covered raisins last 2-3 weeks in an airtight container. Keep them in a cool, dry place. Avoid direct sunlight and heat.
Can I use different types of chocolate for coating raisins?
Yes, you can use dark, milk, or white chocolate. Each type gives a different flavor. You can choose what you like best.
Are homemade chocolate covered raisins healthier than store-bought?
Homemade raisins are often healthier. You can pick organic raisins and dark chocolate. This way, you avoid too much sugar.
What’s the best way to prevent chocolate from seizing when melting?
Use low heat and avoid water when melting chocolate. A double boiler or microwave in short intervals works well. Stir often for smooth chocolate.
Can I make sugar-free chocolate covered raisins?
Yes, use sugar-free chocolate and sweet raisins. Look for sugar-free chocolate chips or sweetened chocolate for a low-sugar treat.
How do I achieve a professional-looking chocolate coating?
Use top-quality chocolate and dry raisins. Use a dipping fork or tools. Tap off excess chocolate and set on parchment paper for a smooth finish.
Can I add additional flavors to my chocolate covered raisins?
Yes, you can add flavors. Sprinkle sea salt, cinnamon, or roll in nuts after coating. These add-ons can make your treat even better.
What’s the best way to store chocolate covered raisins?
Store them in an airtight container at room temperature. Keep them away from heat and sunlight. If it’s warm, refrigerate them. Let them come to room temperature before eating for the best taste.
Did You Try Our Recipe ?
There are no reviews yet. Be the first one to write one.